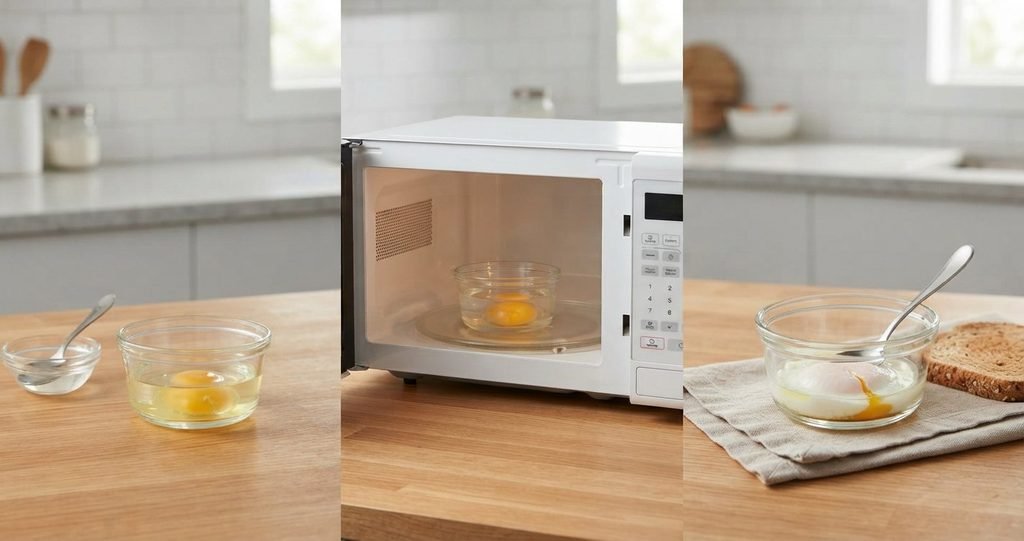
To poach an egg in the microwave, fill a wide, shallow microwave-safe bowl or ramekin with enough water to cover the egg by about ½ inch, crack in the egg, gently pierce the yolk with a toothpick or fork tip, loosely cover the bowl, and cook at medium power in short bursts, starting with about 30 seconds. Let the egg stand for 30 seconds, lift it out with a slotted spoon, and blot it dry. Piercing the yolk matters: trapped steam can make an unpierced yolk burst.
Read More: How to Cook Rice in the Microwave: Easy Step-by-Step
What You Need
- 1 egg
- A wide, shallow microwave-safe bowl or ramekin (not a tall mug), or a microwave egg poacher
- Water
- A toothpick or fork
- A microwave-safe plate or vented lid
- A slotted spoon and paper towel
- Oven mitts, since the bowl and water get very hot
How to Poach an Egg in the Microwave: Step by Step
This method follows The Takeout’s guide, with the piercing and power-level advice backed by the other sources below.
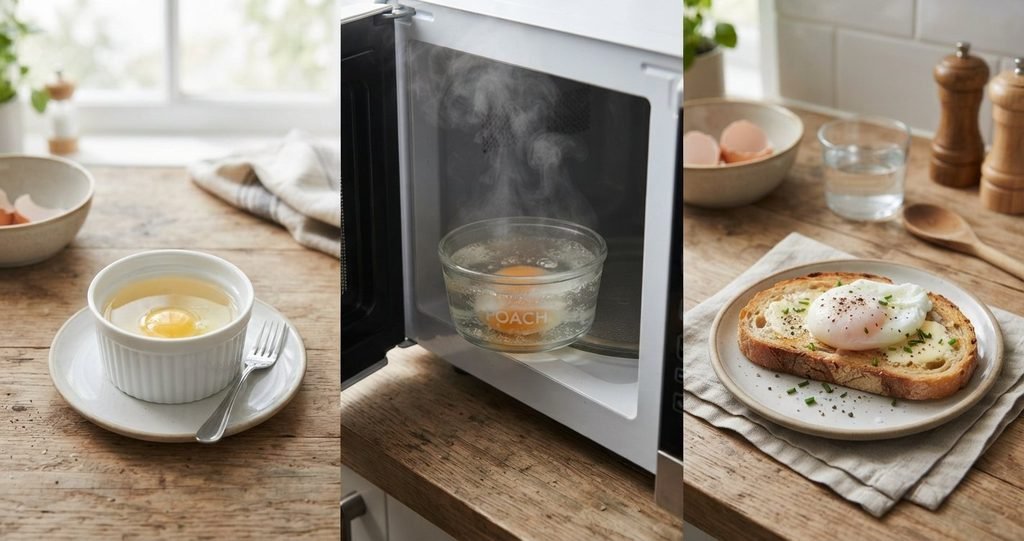
- Choose the right container. Use a wide, shallow, microwave-safe bowl or ramekin rather than a tall mug.
- Add water. Pour in enough water to cover the egg by about ½ inch.
- Crack in the egg. Slide it gently into the water.
- Pierce the yolk. Use a toothpick or the tip of a fork. You only need to pierce it, not tear it open. The Daily Meal says a couple of holes with the tip of a fork or toothpick are enough, and that you shouldn’t press hard or the yolk can leak out and cook rather than stay creamy.
- Cover loosely. Use a microwave-safe plate or a vented lid to contain splatters.
- Cook at medium power for 30 seconds. Then add 10 to 15 seconds at a time until the egg is done the way you like it.
- Rest for 30 seconds. The egg keeps cooking as it stands.
- Lift it out with a slotted spoon and gently blot it dry with a paper towel.
Why You Must Pierce the Yolk
As the egg cooks, its liquid turns to steam. If the steam has no way out, pressure builds and the egg can burst. The Takeout warns that “the yolk may actually explode” if you skip this step, and says explosions are also more likely if the egg cooks too long at full power or the water overheats. University of Georgia extension guidance also advises piercing the yolk membrane with a clean toothpick or the tip of a small paring knife before cooking unbeaten eggs.
Which Power Level and Timing Should You Use?
Sources give different settings, so start gently and adjust.
| Source | Power | Timing | Piercing |
| The Takeout | Medium | 30 seconds, then add 10 to 15 seconds at a time; rest 30 seconds | Yes |
| University of Georgia | 50% power for unbeaten eggs | Short bursts (the yolk cooks faster than the white) | Yes |
| The Daily Meal | About 50 to 70% | Roughly 30-second bursts, checking between each | Yes |
| Chowhound | High | 30 seconds, flip gently, then 15 more seconds; boiling water in the dish | Not mentioned |
What this means: most sources recommend medium or reduced power with piercing. Chowhound’s high-power method uses boiling water and doesn’t mention piercing, and it carries a greater risk of a burst yolk, so the gentler approach is the safer starting point.
Microwave wattages vary, so your timing may differ. Midea’s guide gives no fixed time and suggests heating in short bursts, checking after each one.
How to Tell When the Egg Is Done
- The white is opaque and set.
- The yolk is as soft or firm as you want.
- If the white is set but the yolk is softer than you like, Midea advises adding one more short burst rather than starting again with a long cook.
Safety Tips
- Stop if the water is boiling hard, the cover starts to lift, or the egg looks close to bursting (Midea).
- Rest before handling. The water, container, and egg can all be very hot (Midea).
- Never microwave an egg in its shell to cook it. Pressure can build and the egg can burst (Midea, University of Georgia).
- Use medium power and short bursts, since the yolk’s fat cooks faster than the white (University of Georgia).
- Cook until the egg is set. The University of Georgia source advises against serving eggs that are still partly liquid. If you’d like a runny yolk, consider your own health situation first, especially if you’re pregnant, elderly, or have a weakened immune system, and ask a health professional.
Troubleshooting
| Problem | Likely cause | Fix |
| Yolk exploded | Yolk not pierced, or power too high | Pierce gently and use medium power |
| Rubbery white | Cooked too long | Use shorter bursts and rest the egg to finish |
| Raw white, cooked yolk | Power too high, since the yolk cooks faster | Use 50% power |
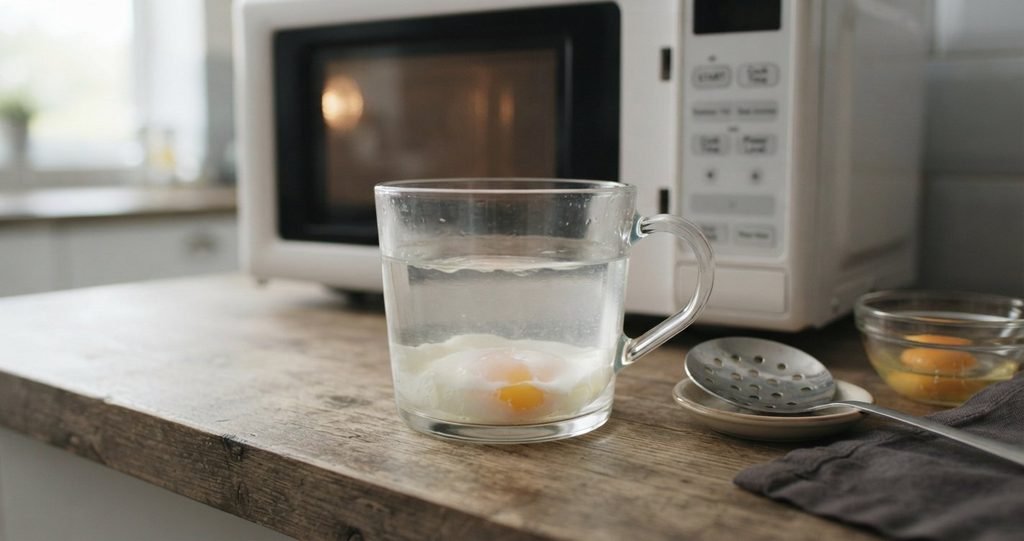
| Uneven cooking | Tall, narrow container | Use a wide, shallow dish |
| Egg stuck or flat | Not enough water | Cover the egg with about ½ inch of water |
Frequently Asked Questions
How do you poach an egg in the microwave?
Put the egg in a shallow bowl of water, pierce the yolk, cover loosely, and cook at medium power in short bursts, starting at 30 seconds.
How long does it take to poach an egg in the microwave?
About 30 seconds, plus 10 to 15 seconds at a time until done, and a 30-second rest, per The Takeout. Your microwave may need slightly more or less.
Do I need to pierce the yolk?
Yes. Piercing lets steam escape and reduces the risk of the yolk bursting.
Why did my egg explode in the microwave?
Steam built up with nowhere to go. The risk rises if the yolk isn’t pierced, the power is too high, or the water overheats.
What power level should I use?
Medium, or about 50% power, according to most of the sources we reviewed.
Can I microwave an egg in its shell?
No. Pressure can build and cause it to burst.
How do I get a runny yolk?
Cook in short bursts and stop while the yolk is soft. If the white is set but the yolk is softer than you want, add one more short burst. Keep food safety in mind, since one source advises against serving partly liquid eggs.
Can I use an egg poacher dish?
Yes. The Takeout notes a specialized egg poaching dish also works.
Conclusion
Poaching an egg in the microwave takes about two minutes and one bowl. Use a wide, shallow dish, cover the egg with about half an inch of water, gently pierce the yolk, and cook at medium power in short bursts before letting it rest. Skipping the piercing or turning the power up too high is what causes eggs to burst, so take it slowly. Once you’ve found the timing that suits your microwave, you’ll be able to repeat it every time.